ข้อมูลสินค้า
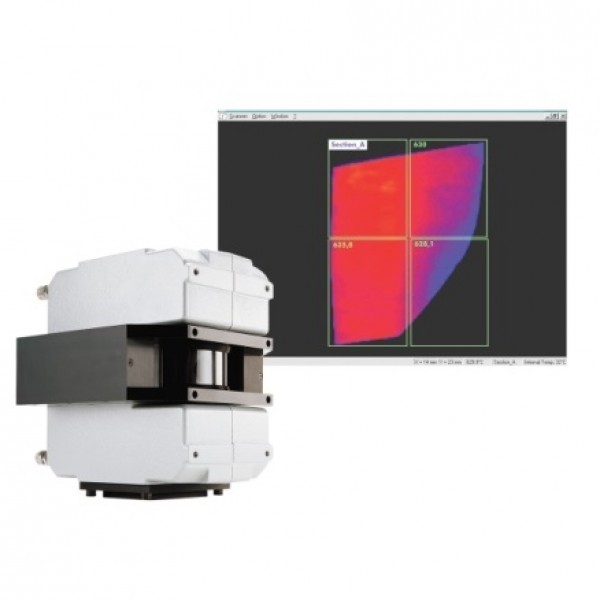
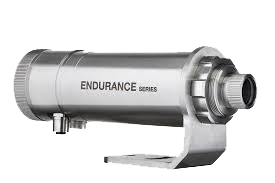
Ratek RAYTGS150 Glass Process Imaging System
Fluke Process RAYTGS150 Offers

The GS150 measures a line of up to 1024 points using a rotating mirror that scans a 90º field-of-view up to 150 times per second. The scanning of a glass part is initiated by the measured temperature, or an external "trigger" signal. As each heated glass part traverses the field-of-view, a two-dimensional thermal image or "thermogram" is formed.
Installs easily, just like a camera, and views the glass part from above, whenever it has a clear path. Connecting the pre-wired cables (included) to a PC and entering installation dimensions in the GS150 Software completes the installation process.
Features
- Improve profitability and product quality
- Reduce setup time and detect defects quickly
- Define product-specific configurations and data files
- Automate quality monitoring for ISO9000
- View complete thermal images and temperature profiles
- Customize and display zones overlaid on a thermal image
- Automatically analyze zone temperatures
- Viewing of complete thermal images and temperature profiles
- Thermal image "snapshot" by the temperature or by an external trigger
- Automatic analysis of zone temperature distributions (minimum, maximum, average, gradient, etc.)
- Fail-safe alarm logging
- Defined product-specific configurations
- Event-based saving of thermal images with archive function for analyzing temperature data
- Easy connection with existing visualization and control systems via flexible system interfaces: OPC or DDE, analog or digital output modules, serial RS232 port, Ethernet
Top Applications

This application involves the forming of automotive and truck/bus windshields in the sag-bending process. The glass sheet is heated until it is within it's viscoelastic phase, at which point, the glass then slumps into a former to take on the required shape.

This application involves the forming of automotive and truck/bus windshields in the sag-bending process. The glass sheet is heated until it is within it's viscoelastic phase, at which point, the glass then slumps into a former to take on the required shape.
How we can help you
- Record the thermal image of every glass sheet produced - certify every product treated
- Detect immediately any change in thermal performance - minimize downtime and scrap
- Quickly see the effect of changing furnace settings, resulting in faster process setup
- Obtain the full 'entry to exit' profile, enabling optimization of heating and cooling process
RAYTGS150 Specifications
| System Accuracy | ±0.5% of reading or ±3ºC (6ºF) whichever is greater |
| Repeatability | ±1ºC (2ºF) |
| Optical Resolution | 150:1 (90% energy) 450:1 (50% energy) |
| Ambient Temperature | 0 to 50°C (32 to 122°F) 180º (352ºF) with water cooling |
| Field-of-View | 90° or 45º |
| Number of Temp. Points | 1024 per scan line, up to 40Hz scan speed1, 512 per scan line up to, 80 Hz scan speed, 256 per scan line up to 150 Hz scan speed |
| Scan Rate | up to 150Hz |
| Physical Dimensions | 200 x 180 x 190 mm 7.9 x 7.1 x 7.5 in. |
| Weight | 7 kg (15.5 lbs) |









.png)


